
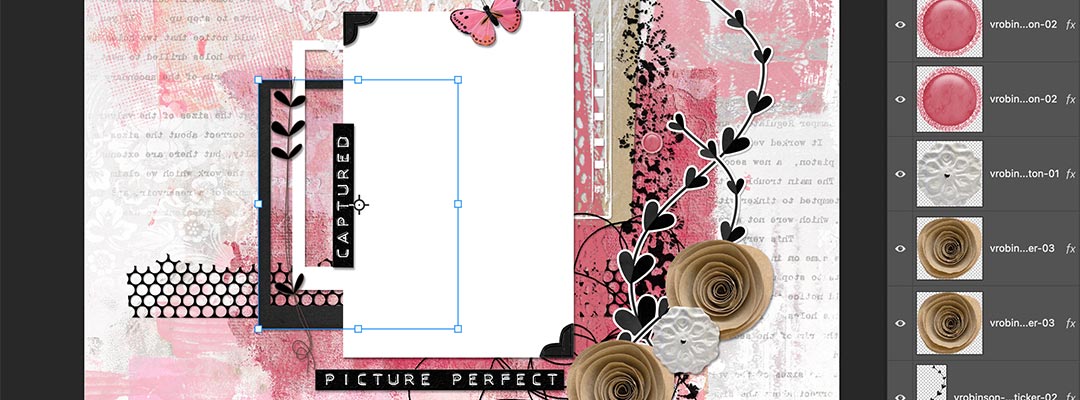
What is a layered quick page?
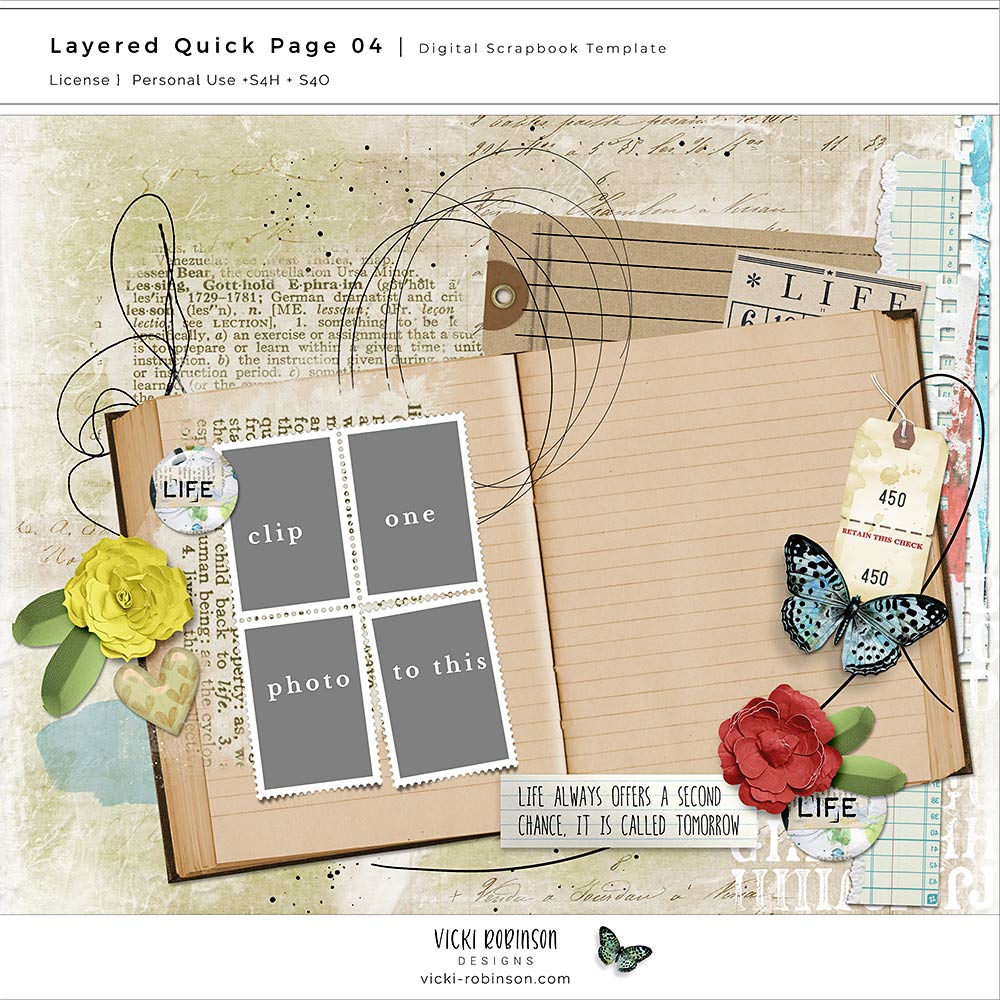
A layered quick page is a fully designed digital scrapbook page that still has all of its layers. You get the speed of a quick page — just add your photos and you’re done — with the freedom of a template, because you can move, swap, or recolor anything you like.
I think of layered quick pages as walking into a beautifully decorated room where you can still rearrange the furniture. The design work is done for you, but nothing is glued down.
If you’re not quite sure how layered quick pages fit in with regular quick pages and templates, my post Scrap Smarter: What You Need to Know About Quick Pages & Templates explains all three in beginner-friendly language. (You’ll feel like a pro by the end, I promise!)
How Layered Quick Pages Are Different
A traditional quick page is a flattened PNG with see-through photo windows. It’s fast, but what you see is what you get — you can’t change the papers or move a single flower.
A layered quick page is a PSD file where every paper, element, shadow, and photo mask sits on its own layer. That means:
- You can clip your photos into the pre-made photo masks — no measuring or aligning required.
- You can swap out papers, recolor elements, and tweak shadows.
- You can replace embellishments with favorites from your own stash.
- Or you can simply add your photos, a title, and your journaling, and you’ll still have a completely designed, beautiful layout!
It gives you the look and speed of a quick page, with just enough flexibility to make it feel like you.
What’s in the Download?
Each of my layered quick pages is a 12×12 page that comes in three formats:
- PSD — the layered file for Photoshop and Photoshop Elements.
- TIF — also layered, and it opens in more programs than a PSD does. It’s a great choice if you’re not using Adobe software.
- Untrimmed PNGs — every layer saved as its own 12×12 PNG, for programs that can’t open PSD or TIF files. Each PNG holds just one piece of the design, sitting exactly where it belongs on the finished page, with the empty space around it left in place. Stack them on your page, one at a time, and everything lines up perfectly — like layering sheets of clear acetate, each with one element printed in just the right spot.
How to Use a Layered Quick Page (Step by Step)
Here’s the whole process in Photoshop or Photoshop Elements. The steps are the same in both programs.
- Open the layered quick page. Go to File > Open and choose the PSD file.
- Save a copy right away. Choose File > Save As and give it a new name, like “Grandma’s-Garden-Page.” That way, the original stays untouched and ready for your next page.
- Open your photo and drag it onto your page.
- Place the photo directly above a photo mask in the Layers panel. The photo mask layers are usually labeled “photo” or “mask.”
- Clip your photo to the mask. Go to Layer > Create Clipping Mask, or use the shortcut: Ctrl+Alt+G (Mac: Cmd+Opt+G) in Photoshop, or Ctrl+G (Mac: Cmd+G) in Photoshop Elements.
- Resize and reposition your photo with the Move tool until it’s framed just the way you like.
- Customize as much or as little as you want. Swap a paper, move an element, or hide a layer by clicking its eye icon.
- Add your title and journaling with the Type tool.
- Save two versions. Keep the layered PSD so you can edit it later, then save a flattened JPG for printing or sharing.
New to clipping photos into masks? My photo masks and clipping masks tutorial walks you through it in detail.
Watch How Easy It Is
I put together a video tutorial that walks you through using one of my layered quick pages in Photoshop Elements — from clipping in photos to making little design tweaks. The steps work in full Photoshop, too.
Layered Quick Page FAQ
Can I use a layered quick page in Photopea? Yes! Photopea is free, browser-based, and opens both PSD and TIF files, so you can follow the same steps above.
Can I use my own kit with a layered quick page? Absolutely. Every paper and element is on its own layer, so you can swap in anything from your stash. It’s a wonderful way to give a favorite kit a fresh new look.
What if my program doesn’t open PSD files? Try the TIF version first. It keeps the layers and opens in many more programs. If your program can’t open a TIF either, use the untrimmed PNGs. Drag each one onto a 12×12 page, one at a time, starting with the background, and every element will land right where it belongs.
How is this different from a template? A template gives you the layout, but you add all the papers and elements yourself. A layered quick page gives you the layout and the design, already finished.
Find Your Next Layered Quick Page
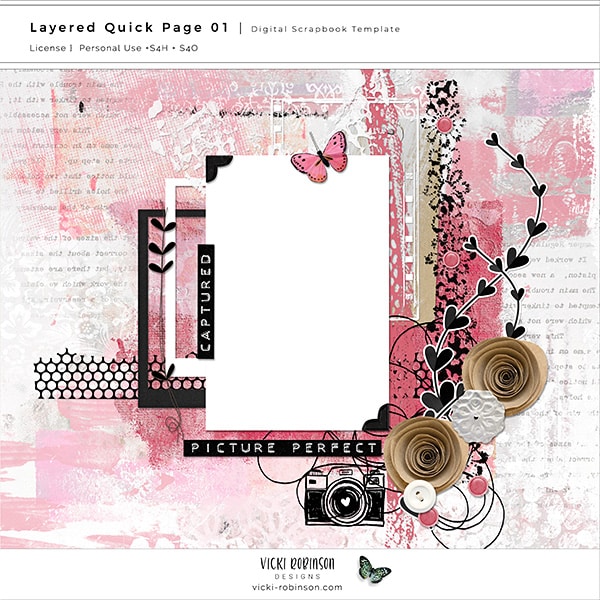
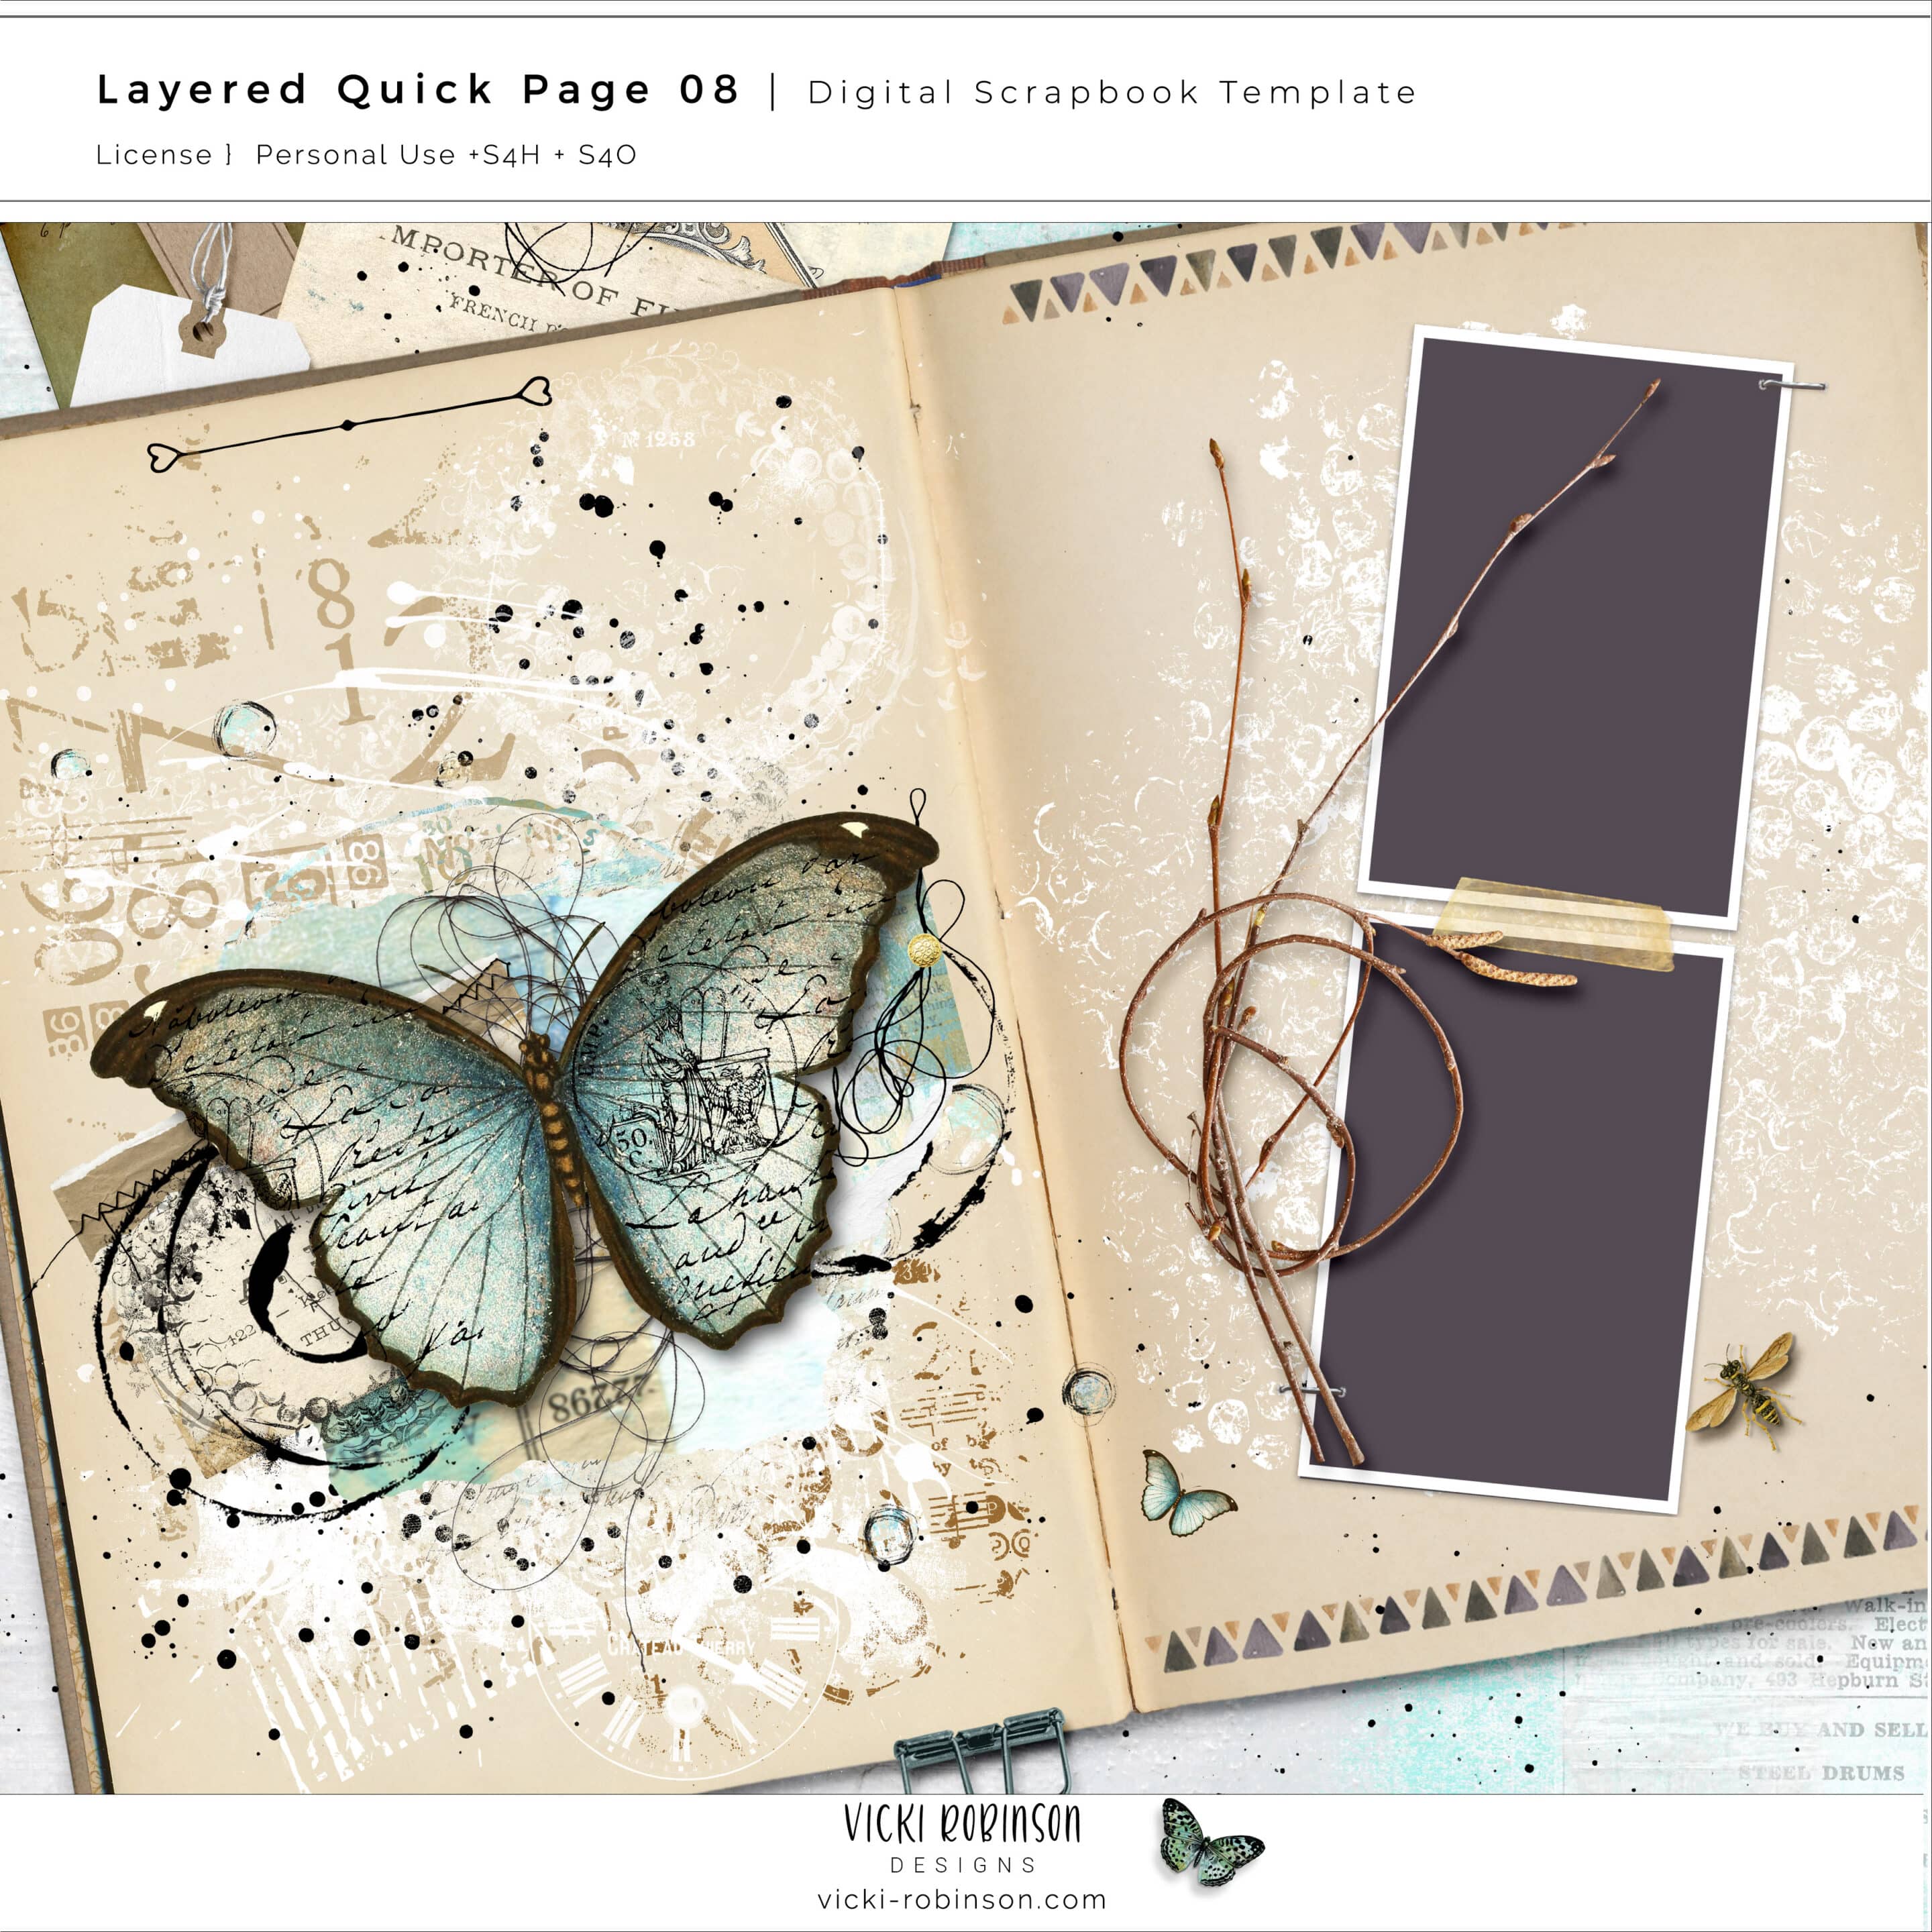
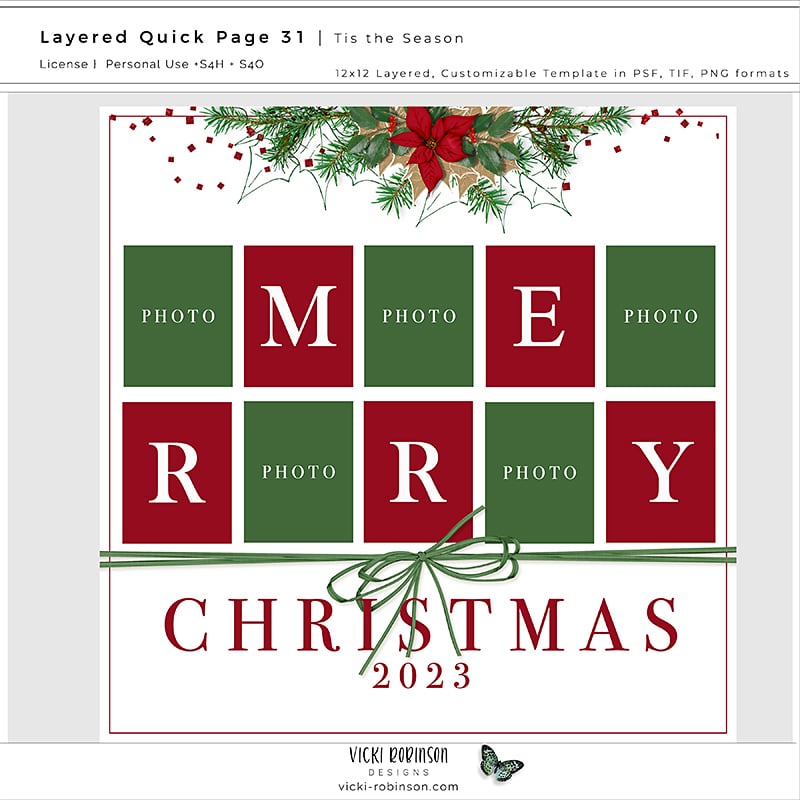
Want to try one for yourself? Browse the layered quick pages in my shop — here’s just a small sampling of what you’ll find!
Ready to Begin?
If you’re feeling stuck and would love a little company as you find your way back, Begin Anywhere is a free 7-day email series of gentle prompts to help you move past the blank page and return to your creative practice. No pressure. No perfection required. Just a kind little nudge from a friend who knows how hard it can be to begin again. Get the Email Series →Want to Go Deeper?
If you’re curious about why “use what you have” is more than just a nice idea, Start Where You Are is where that story begins.
I always look forward to your e-mails, but this one is especially compelling. I’ve heard you talk about your layered quick pages before, but never really realized the versatility of them. I may have a new favorite Vicki thing!!
Lol! So happy to be enable you, Judy!!!
This is perfect for me because it is extremely helpful with the papers and elements already included. This way, I can add to or subtract from the layered quick page. Thanks for the tutorial. 🙂
Hey Shirl! So nice to hear from you again! I’m so happy you like the layered quick pages!!! They are such an easy way to get your pages scrapped! Hope you are doing well — big hug!
I like the layered quick pages! They are awesome! Thanks for the tutorial.
Thank you so much!
This tutorial was very educational in that I never knew about the tiff file format. So I am thinking of reverting to saving my files in that format. Thank you also for all the other tips in this video.
Thank you so much, Cynthia! I’m so glad you found the tutorial helpful!