Grayscale JPG overlays might look plain at first glance, but they’re one of the most powerful tools in a digital scrapbooker’s stash. With just a few clicks, these texture-packed layers can add instant depth, dimension, and interest to your pages. In this post, I’ll show you what grayscale overlays are, why they’re so versatile, and how you can use them in Photoshop Elements or Photoshop to enhance your creative work.
What Are Grayscale JPG Overlays?
Grayscale JPG overlays are black-and-white image files (saved as JPGs) that contain visual textures—like brushwork, patterns, type, or grunge. They’re not transparent like PNGs. Instead, they’re designed to sit over a paper or background and interact with whatever’s underneath using blend modes. Think of them as artistic texture sheets you can layer, recolor, and blend into your layout for an effortlessly artsy look.
Why Use JPG Overlays in Digital Scrapbooking?
- They instantly add visual interest and texture to your backgrounds
- You can use them with any kit—even ones you already own
- They’re easy to recolor and blend with solid or patterned papers
- Perfect for art journaling, mixed media looks, or grungy layouts
- They offer endless creative flexibility with very little effort
Three Ways to Use Grayscale JPG Overlays
1. Blend with a Solid Color Background
Place the grayscale overlay above a solid-colored layer and change its blend mode to Overlay or Soft Light. This allows the overlay’s texture to take on the color underneath. You can adjust opacity for a bolder or more subtle effect. This is one of the quickest ways to add texture without overwhelming your design.
2. Use Over a Patterned Paper
Try layering your overlay on top of a richly textured or patterned background. When set to Overlay blend mode, the two images combine beautifully—showing both the pattern and the added texture from the overlay. Lower the opacity for a softer, more blended look.
3. Add a Gradient Overlay for a Custom Color Effect
Want even more drama? Add a Gradient Fill Adjustment Layer above your grayscale overlay and set it to Overlay blend mode. You can use two or more colors to create a beautiful shift in hue across your page. The result: a rich, colorful, customized background that still shows off all the juicy texture of the original overlay.
Watch the Video Tutorial
In this step-by-step tutorial, I walk you through all three techniques using products from my shop. Whether you’re new to overlays or want a fresh way to use what you already have, this video will show you exactly how it’s done.
Final Thoughts
Grayscale JPG overlays are more than just background textures—they’re secret weapons for adding mood, movement, and richness to your layouts. Whether you blend them with color, layer them with patterns, or add a dreamy gradient, you’ll find they’re endlessly adaptable and oh-so-satisfying to use.
Have questions or want to share how you’re using overlays in your own projects? Leave a comment below—I’d love to hear from you! If you try this tutorial, I’d love to your work! Post it in my Designer Gallery at Oscraps!

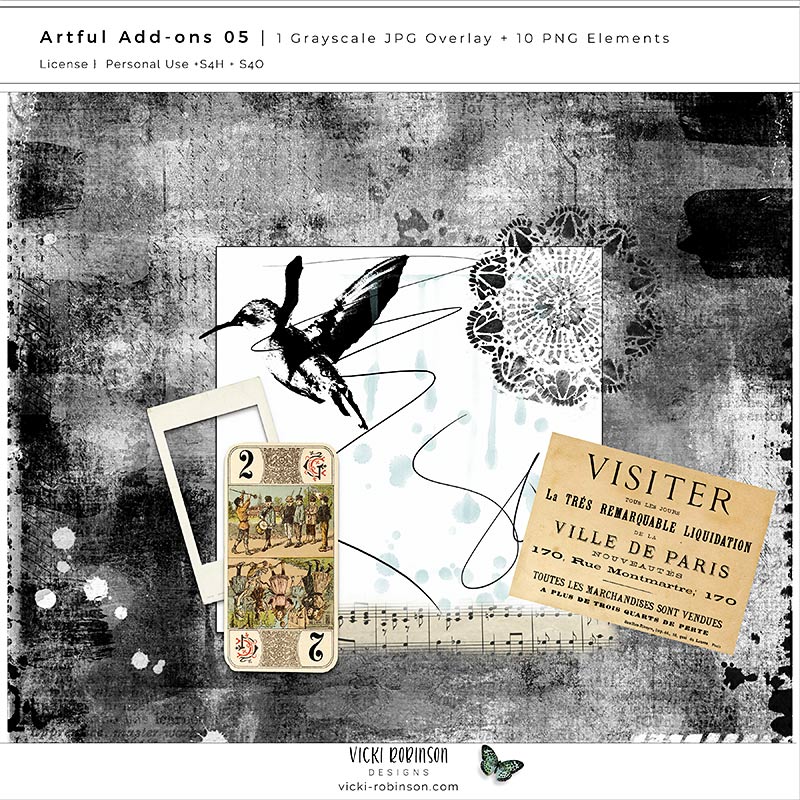
Artful Add-ons No. 5
This pack of finishing touches includes borders, JPEG overlays, brush accents, and elements that work with any digital scrapbooking kit. Perfect for adding that last bit of magic to your pages.
Find my Artful Addon products in my shop here and my other textured overlays, transparent overlays, and paper textures in my shop here.
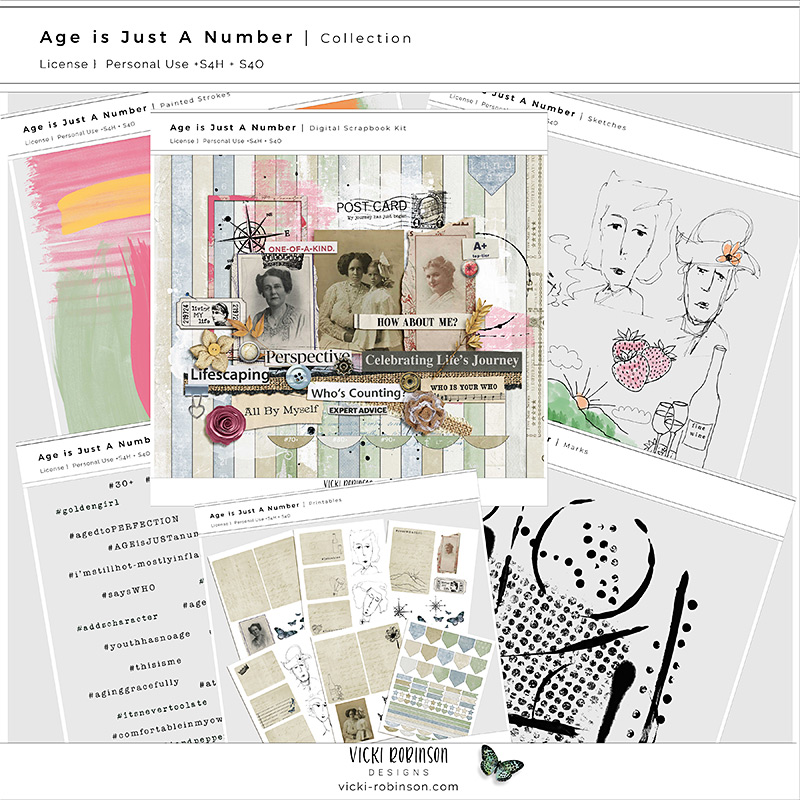
Age Is Just a Number Digital Collection
A beautifully layered mixed media kit that includes the background papers featured in the video: Paper #7 and Paper #12. Ideal for grungy, meaningful layouts with emotional depth.


0 Comments