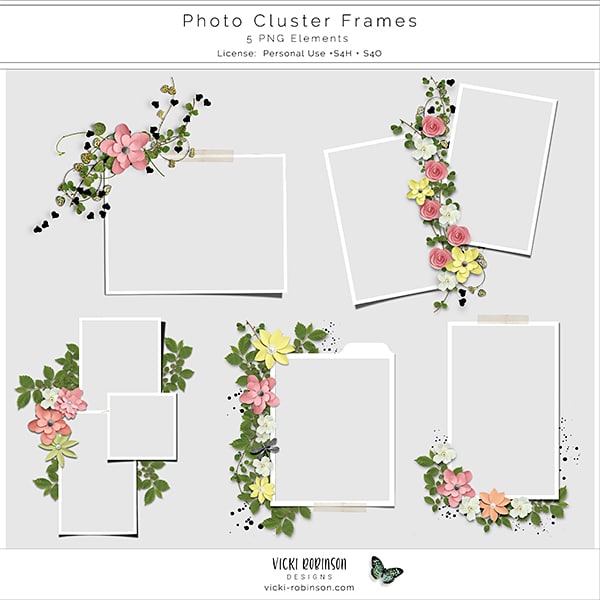
Pre-designed digital scrapbook frame clusters can add a beautiful touch to your layout, but it may not always be clear exactly how to add your photos. Once you place a photo beneath one of the frames, you’ll most likely need to resize your photo, but depending on the size of the frame cluster and the photo, more work may still be necessary.
The answer is to attach a “layer mask” to your photo layer in Photoshop or Photoshop Elements. A layer mask allows you to selectively show, hide, or partially show portions of your image. Because layer edits are “non-destructive” — meaning you are only hiding the extra areas of your photos, not erasing them — if you later change your mind about how much of the photo you wanted to reveal, you can always remove the layer mask and start over.
Note: In addition to “layer masks,” Photoshop and Photoshop Elements also permit the use of “clipping masks”. It’s easy to confuse the two terms but, although they are somewhat similar in the sense they both affect how much of a photo is visible, they are different animals.
- A layer mask affects the layer it is attached to, as you will see in my tutorial.
- A clipping mask forces one layer to conform to the shape and opacity of one or more layers, which are grouped (or clipped) together. See Using Clipping Masks for more explanation and helpful tips and then learn how to use Photoshop/Elements brushes to make your own masks for for clipping.
Video Tutorial Using Photo Frame Clusters
My short video will show you how to place your photo and the frame on your page and use a layer to refine the portions of the photo that you want to display. Be sure to check out my tips and resources below!
Layer Mask Tips
- Be sure the Layer Mask is selected (active) before painting on your photo.
- You can tell your Layer Mask is active by the border around it in the Layers Panel.
- When you first add a Layer Mask it is white by default so it reveals (shows) everything on that Layer and you won’t see a change to your photo.
- Remember, white reveals, black conceals:
- You can conceal (or hide, or mask) any areas of your layer by painting over them with black.
- Bring back a part of the layer you didn’t mean to mask by painting with white.
- The Foreground Color chip determines what color your Brush will paint with.
- You can switch your Foreground Color between black and white by pressing “x” on your keyboard.
Resources
- If you love using frames on your layouts as much as I do, check out all of the digital scrapbooking photo frames I have waiting for you in my shop!
- You may also like my tutorial on Using Layered Postage Stamp Frames.
- Use Coupon Code: VRD-FRAMES-TWO to take $2.00 off any of my frame sets!
- Download the Junque Journal 03 freebie used in this video (be sure to look for the discount coupon for the Junque Journal 03 kit in the description.
- Leave a comment below if you have any questions about this tutorial— or just to let me know you found it helpful!


I viewed your “using a frame cluster” video and found that the way I attach a photo, keeping the size that I want is to create a clipping mask the size of the frame opening and clip the photo the mask.
Yes, Shelly — that would work too! Thanks for stopping by my website!